A roof replacement should end weather concerns, yet a new ceiling stain or cracked texture often appears soon after installation. This damage rarely results from defective roofing materials.
More often, vibration during tear-off and installation travels through the structure, dislodging attic debris while crew movement flexes the roof deck and ceiling joists. Water stains or popped seams raise concerns about the integrity of the installation.
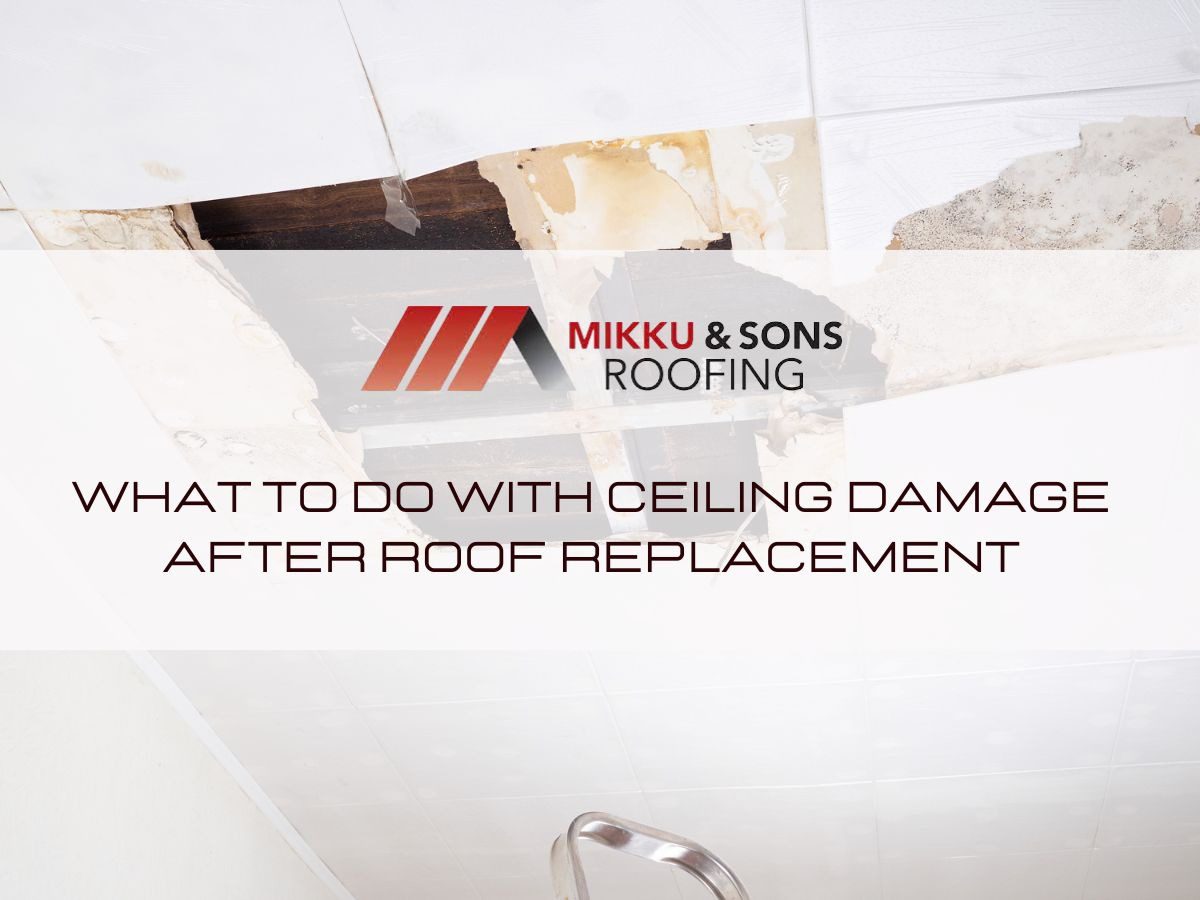
The key distinction lies between cosmetic settlement from construction activity and an active leak that requires immediate repair. Inspection should begin in the attic, checking the underside of the decking for moisture and tracing any intrusion to its source. Let's look at what to do with ceiling damage after roof replacement.
The immediate concern after discovering ceiling damage is not cosmetic repair, but structural stability and the potential for hidden water intrusion. A systematic assessment conducted within the first day establishes a baseline for the necessary repairs and prevents secondary damage to the property.
This inspection follows a logical progression from active leaks to structural integrity to electrical hazards.
A visual inspection from the living space cannot confirm whether the damage is actively leaking or simply residual moisture from a previous event. The attic space provides the definitive answer.
Access the area directly above the visible ceiling damage during a rain event if possible, or immediately after discovering the stain.
Water saturation compromises the structural integrity of gypsum board long before visible failure occurs. The ceiling assembly relies on the drywall to maintain its rigidity, and a loaded pocket of water presents a collapse risk.
A physical examination determines the extent of the saturation. Press upward on the stained area with an open palm using moderate pressure.
If the material depresses easily or feels soft, the section requires removal.
A ceiling bulge containing trapped water requires immediate intervention to prevent a catastrophic failure. Gravity pulls water downward, creating a pocket between the drywall paper and the gypsum core or pooling on top of a paint layer.
Relieving this pressure in a controlled manner is safer than allowing the weight to increase.
The water will drain through the small hole, which prevents the ceiling from collapsing under the increased weight and allows the drying process to begin.
Water and electrical current create a dangerous combination within wall and ceiling cavities. Water traveling along conduit or pooling inside junction boxes poses an electrocution hazard and can damage fixtures.
A precautionary measure protects both the structure and the individuals working on the repair.
Establishing liability for ceiling damage after a roof replacement requires a factual assessment of the evidence. Responsibility may differ between the roofing contractor and the property owner depending on whether the damage arose from construction work or pre-existing conditions.
A clear understanding of these categories prevents unnecessary disputes and directs the repair costs to the correct party.
The roofing crew operates in a dynamic environment on the roof deck, and physical accidents can occur during the work. These incidents are typically straightforward to identify because they manifest suddenly during or immediately after the installation.
The contractor's insurance or the company itself usually bears the financial responsibility for these repairs.
Roof replacement creates substantial vibration within a structure. Tear-off machines remove old materials, nail guns drive thousands of fasteners, and crews move continuously across the deck.
These forces travel through the framing and can loosen settled dust, debris, or cracked paint that had remained undisturbed in the attic. Fine particles may fall onto the ceiling below, sometimes along with minor hairline cracks in the drywall compound.
This situation does not indicate improper roof installation. It reflects a pre-existing condition within the ceiling assembly that construction activity revealed.
A new roof should create a watertight barrier. If a rain event occurs after the installation is complete and water enters the living space, the roofing system has failed at some point.
This situation demands an immediate response from the installing contractor. The source of the leak often lies in the flashing details.
Step flashing around chimneys, valley installations, or headwall flashing at roof-to-wall intersections are common failure points if not properly integrated with the new shingles. Plumbing vent boots can crack during installation or be set at the wrong height.
Moisture trapped within a ceiling assembly will compromise any repair attempted over it. Paint applied to a damp surface fails to adhere properly, and joint compound cracks as residual moisture attempts to escape.
The drying process requires patience and a deliberate approach to air movement before any patching or finishing work begins.
Gypsum board acts as a sponge when exposed to water. The paper facing absorbs moisture rapidly, while the gypsum core wicks water outward from the point of intrusion.
A stain visible on the surface often indicates saturation that extends several inches beyond the discolored perimeter. This absorbed moisture must migrate back out through the same materials.
Trapped water causes the gypsum to lose compressive strength and promotes delamination of the face paper. The drying process cannot be rushed with heat alone, as rapid temperature changes can cause the materials to crack or warp unevenly.
Still air prolongs the drying cycle and allows moisture to settle into framing members and insulation. Moving air across the affected area accelerates evaporation by carrying away the water vapor released from the drywall surface.
The setup requires strategic placement of equipment to create continuous circulation.
The thickness of the drywall and the extent of saturation dictate the drying duration. A surface stain from minor humidity may dry in two to three days.
A significant saturation event where water penetrated the gypsum core requires a full 7 to 14 days before the material returns to its stable moisture content. A moisture meter provides objective confirmation that the surface is dry.
Without one, touch can offer a rough guide: damp areas feel cool, while dry material matches the temperature of the surrounding drywall and is ready for repair.
Once the ceiling assembly is verified as dry and structurally sound, the repair process moves to material restoration. The approach differs significantly based on whether the damage is limited to surface discoloration or involves physical deformation of the drywall.
Each scenario requires specific products and techniques to achieve a seamless finish.
A flat ceiling with intact paint but visible brown or yellow discoloration requires chemical blocking rather than simple paint coverage. Standard latex paint allows tannins and minerals deposited by the water to migrate through to the surface over time.
Do not skip this step. Primer creates the barrier that prevents the stain from returning.
Repainting the entire ceiling surface ensures uniform appearance.
Physical damage such as punctures, popped seams, or areas where paint has blistered and peeled away requires material replacement or patching. The repair must restore the flat plane of the ceiling before any texture or paint is applied.
Small holes or gouges accept setting-type joint compound or lightweight patching compound. Larger areas up to twelve inches may require a self-adhesive fiberglass mesh for reinforcement.
Dried joint compound leaves ridges and texture that differ from the surrounding ceiling. Sanding blends the repair into the existing surface.
The patched area consists of raw joint compound and exposed paper, which absorb paint differently than the surrounding ceiling.
Ceiling damage discovered after a roof replacement represents a disruption that feels contradictory to the purpose of the new installation. The reality is that structural vibration and construction activity often reveal weaknesses or create conditions that manifest on the finished surface below.
The sequence of response matters. Safety checks prevent injury from unstable materials or electrical hazards.
Drying periods ensure that subsequent repairs bond properly and remain stable. Accurate fault determination directs costs to the correct party and preserves working relationships with contractors.