Roof shingles are flat rectangular elements laid from the bottom up, and they successively overlap to work as a roof for a structure. They come in different types and colors, and ceramic shingles are popularly known as tiles.
The most common type is asphalt shingles, and they are easy to install, relatively affordable, and durable.
Roofing your house is a big task; without the right steps, you may end up with a damaged roof over time. This guide brings light to this task-full activity, so continue reading below, where we delve into How to Shingle a Roof.
If you're unsure whether you should shingle your roof, look at our article, where we weigh out the pros and cons. Or if you're an outdoor person and want to sit outside despite the weather, you should consider adding a porch roof.
Before you decide to take on the project yourself, you need to determine whether you'll be able to perform the task without professional help.
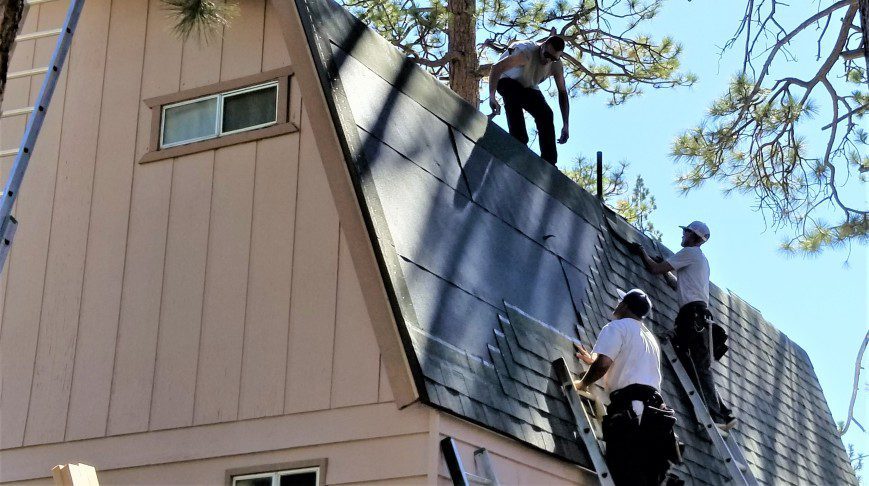
Many concerns come with roofing a house, including the fear of heights. If you can walk on your home's roof comfortably, you can complete the DIY roofing task.
You'll need to have the energy to do all the manual jobs, such as carrying the shingles up a ladder to your roof and installing them.
To shingle a roof, a few terms you will have to have at your fingertips are described throughout this article.
This is installing metal material on a roof to direct water away. It may have to be replaced if rusted or worn out (curled up or torn).
This is metal flashing interwoven with the adjacent shingles. They are nailed and held in place along the adjacent shingles and sealed with roofing cement to prevent water from seeping through.
The valleys are where two roof parts with different pitches or angles meet. This place is vulnerable to water penetration and is protected through valley flashing.
They may be installed along with the roof underlayment or deck before the shingles are installed. They should last as long as the shingles because replacing them involves removing them.
This is flashing around the vent piping. It is sealed with roofing cement to prevent run-off water from seeping through.
This is ice and water dam protection that prevents damming on a roof. This could cause the roof to collapse due to increased point load on the roof frame.
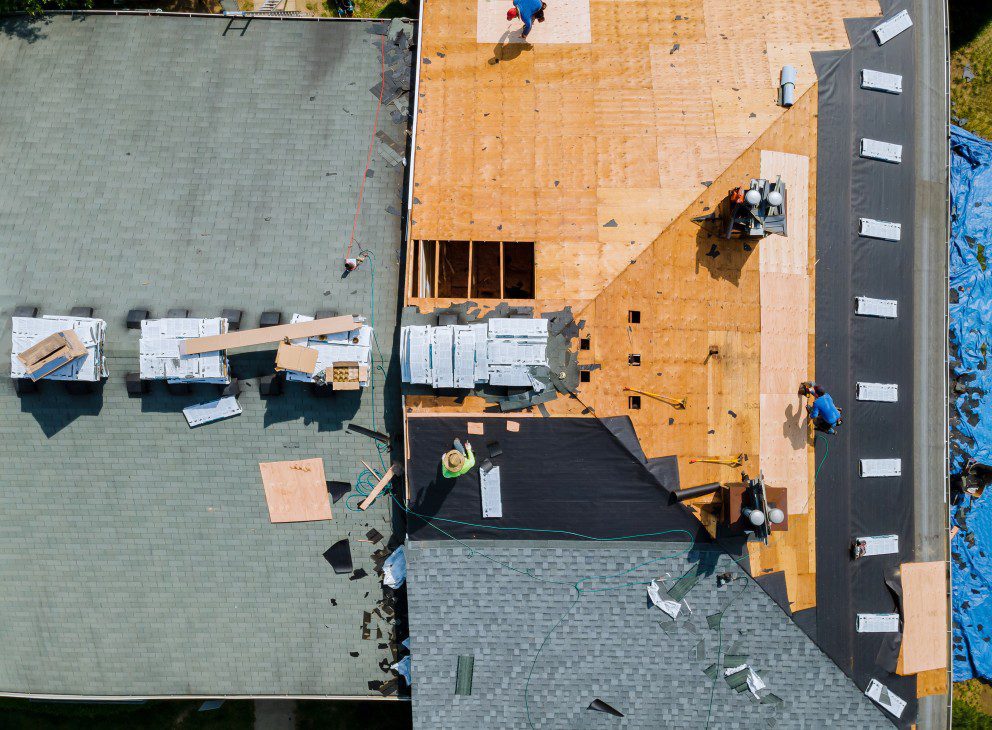
The roof deck is the material placed on the rafters and onto which the roof cladding will be installed.
This is a secondary protective layer installed on the roof deck. It protects the roof from water that may seep through the nail holes of the shingles.
There are synthetic and felt underlayments, and they each have advantages and disadvantages. The type of underlayment you use depends on the location, type of roofing material, and budget, among other factors.
Synthetic underlayment is more durable and offers better protection than felt underlayment. It is tough, easy to install, safe, and water repellent.
Some are slip-resistant and offer a workable surface once installed. They are also not damaged by prolonged UV or moisture exposure when it takes a while to add the shingles.
When thinking about how to shingle a roof, I can tell you many nails are involved! The prospect of hand-nailing more than 2000 nails is extreme, and that's where an air gun can come in handy. However, both methods have advantages and disadvantages.
The main difference between the two methods is the accuracy and precision of hand nailing. The placement of nails is important because of the limited area they go on a shingle.
The head of the nail stops flush with the top of the shingles, and it is necessary to maintain the nail line.
Under-driven nails also make for an uneven shingled roof and make the shingle susceptible to wind damage. The wind may also pop the shingle off the nail, causing a leak.
The air compressor for the nail gun has to be at good pressure to drive the nails in correctly. Hand nailing offers more precision but requires more time and energy.
To shingle a roof safely, you must adhere to a few precautions.
Safety is the most important concern when installing a roof. Falling is one of the most common causes of injury, and you must pay attention to safety.
| While Using a Ladder |
| ✅ Make sure it is properly installed. It should be tall enough to reach the roof and strong enough to support a significant weight in the middle without collapsing. |
| ✅ Position it well at the top and the bottom of the roof. If possible, tie it in place to prevent it from slipping or falling. |
| ❌ Don't use the ladder when your arms are full. You can use a bucket or anything suitable to get things onto the roof. |
| When Working on the Roof |
| ✅Walk with care because you never know which part of the roof may have been weakened over time. |
| ❌ Don't walk backward as the expectation you're used to is to step on a flat and not tilted surface. This may cause you to lose your balance and fall off the roof. |
Before you begin learning how to shingle a roof, you must remove all previous old shingles.
Next, you'll want to check that your deck is securely fastened to the roof truss, free of any holes or gaps, and completely dry and smooth. This will give you a flat, seamless shingle roof in the end. Your decking is crucial as it's responsible for holding the shingle, so it has to be prepped to handle the weight.
Once you have ensured you are completely safe while installing your roof, you can continue reading on to our step-by-step guide on How to Shingle a Roof!
Asphalt Shingles: 2 days
The underlayment is the most crucial part of discovering how to shingle a roof.
Your underlayment layer sits between the shingles and the roof deck and helps to offer secondary protection from the elements.
The underlayment comes in rolls and is installed overlapping toward the top of the roof.
If you have installed an eave or ice dam protection, overlap it at the edge by 4". A roof has open and closed valleys. However, it is necessary to overlap the underlayment by about 6" at the valley membrane flashing for protection from water that may go down the valley.
If you don't have eaves or ice and water protection, install the underlayment hanging between ¼"- ¾" from the edge.
Generally, ice and water protection is used on roofs in northern states. For example, roofing companies in Kalispell would install ice and water shield.
Install the second layer upwards, overlapping by about 2". When you reach the ridge of the roof, roll out some excess underlayment to each side of the roof to provide a better seal.
Two types of valleys are open and closed, which are prone to water penetration. Closed valleys are covered up when installing shingles.
Flashing an open valley is recommended to provide a waterway down the roof. Flashing is done by installing a metal valley, preferably 28-gauge metal, to withstand the elements.
When installing the flashing, caulk the edges to provide a watertight seal.
For areas like chimneys and roof vents, install flashing around the area and caulk the edges to provide a watertight seal.
Asphalt shingles are relatively easy to cut to size. Once the underlayment is laid out, installing the shingles is the next step toward completing your roof.
You can either get prepping material for starter shingles or fashion them from the shingles you already have. They provide a sealed adhesion point and water-shedding protection at the adjacent shingle joints.
The lower part of the roof is the most sensitive and can damage by wind or water. The starter shingles are installed below the first row of shingles and along the rake, edges to get you started on the shingle installation.
Use a chalk line to mark out the lines that will guide you in installing the shingles. This is good for aesthetic purposes because you don't want an uneven row of shingles.
This also helps determine the number of shingles you may need for your roof. Remove the tabs from the shingles to get them ready for installation.
Place the first shingle over the chalk line and secure it with a nail gun. Subsequently, install the rest of the pieces horizontally till the first row is covered.
Install the rest of the rows, overlapping the shingles as per the required length of the shingle manufacturer. Extend the shingle installation past the ridge to provide a watertight seal when you get to the ridge.
If you choose to have a closed valley installation, extend the shingles at least 12" past the valley centerline and add extra fastening to the end.
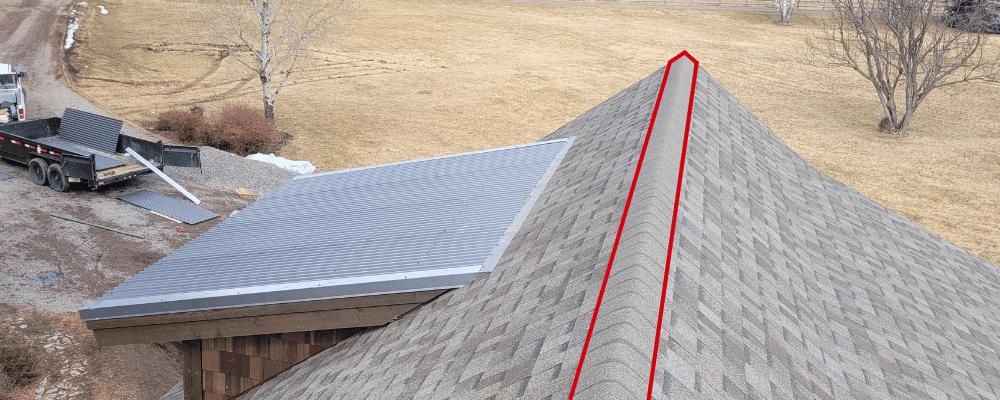
The final step of learning how to shingle a roof is to cover up the roof's ridge. If you choose not to overlap the shingles at the ridge, you can also place caps horizontally along the ridge to provide protection.
They are typically installed from one side to another, and the hips are installed vertically. Install them with the first ridge cap facing the opposite direction of the prevailing wind.
You will need longer nails when installing ridge caps, as they have to penetrate both the caps and the last shingles. To provide a watertight seal, you may seal the exposed nails with roofing cement.
The hip caps are installed from the bottom up to the ridge and are sloped ridges. Install the caps from both ends and connect them to a hip roof at the middle meeting point.
Supply:
Tools:
Materials: Roof flashing Underlayment Shingles Roofing cement
Asphalt roof shingles are made out of long-chain hydrocarbons. With time, the loss of oil makes the shingle fibers shrink.
This exposes the nail heads used to hold them in place during installation. Once exposed, water can seep into the house and cause damage.
If you can see the nail heads on your shingled roof, it's probably time to re-shingle it.
Using a shingle shovel, you can easily remove any existing shingles with one quick gesture.
The shovel has teeth that grab the shingle, and when the handle is pushed, it raises the other end. This is easier than prying the nails with a hammer and speeding up the process.
How you nail shingles on a roof determines the roof's overall look and durability. Nailing the shingles incorrectly could cause:
1. Raised shingles
2. Blown shingles
3. Curled shingle edges
4. Leaking roofs
The shingle nail pattern for most shingle companies should be no further than 1" from the shingle edges. A 4-nail pattern is commonly used, but in some roof types, like steep slope roofs, this may go up to 6.
To fix nailing mistakes:
1. Drive in under-driven nails with a hammer.
2. Remove crooked nails with a hammer and fill the holes with roofing cement.
3. Fix a new nail or install a new shingle.
Remember that shingles are installed in an overlapping pattern, and messing up an installation may be a severe problem.
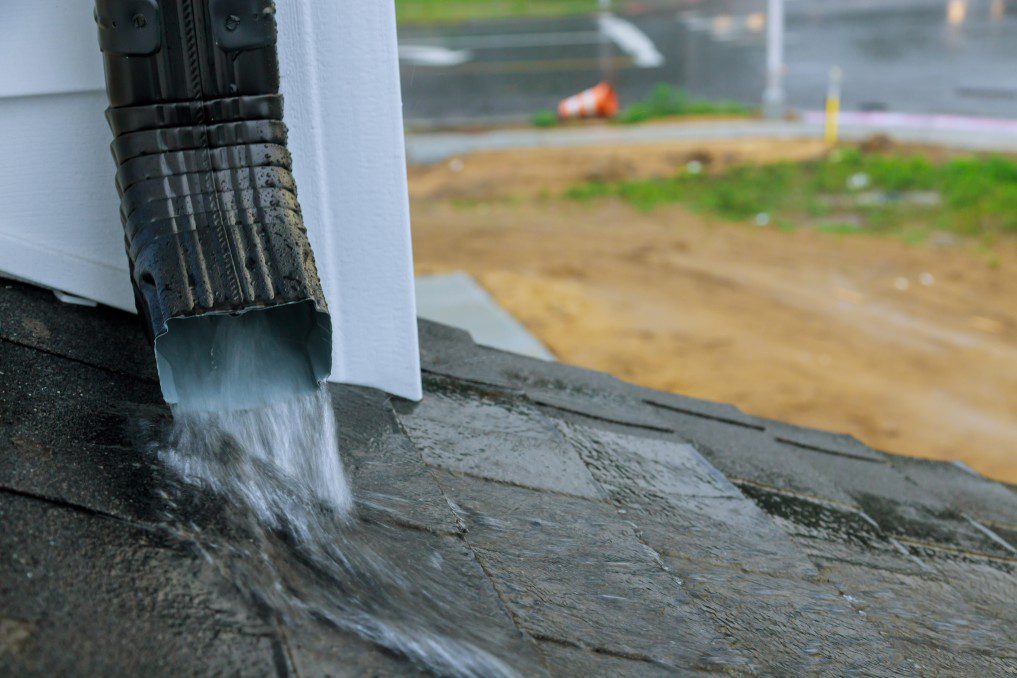
It is metallic and is installed along the fascia boards to prevent water from running down them directly and prevent the shingles from curling over the edge.